G'day! I'm Nathan Hoad and I'm an independent game developer and doer of art stuff with Lilly Piri.
I love writing code, drawing pictures, composing music, and telling stories and making games combines all of those things.
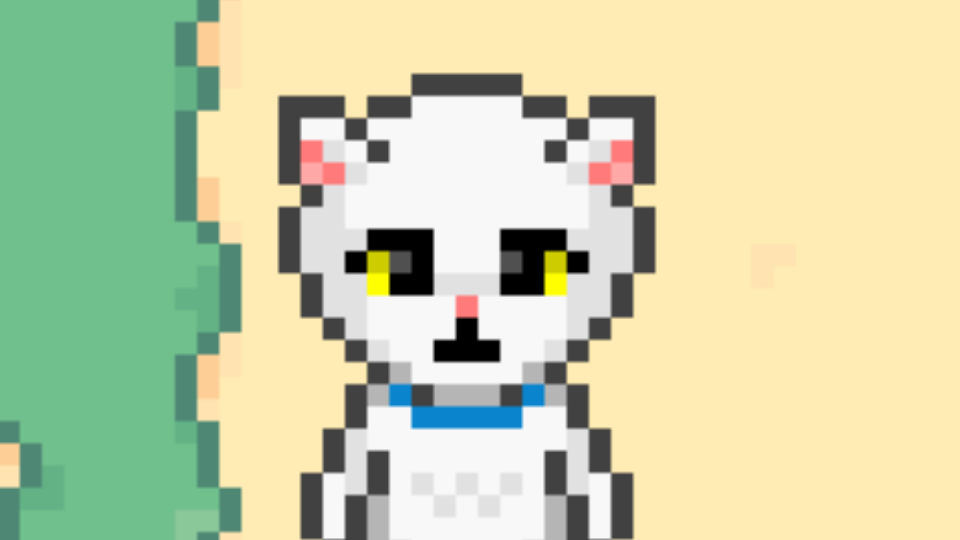
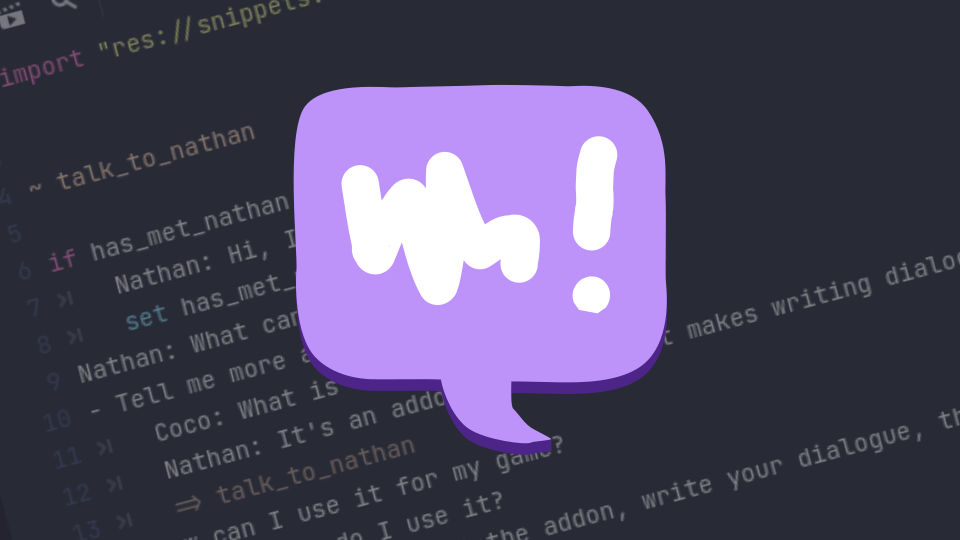
Right now I'm building a classic adventure game about our cat, Coco, as well as working on a few Godot Engine addons.
Projects
Articles
- Godot Editor addon considerations April 2023
- No more trackers March 2023
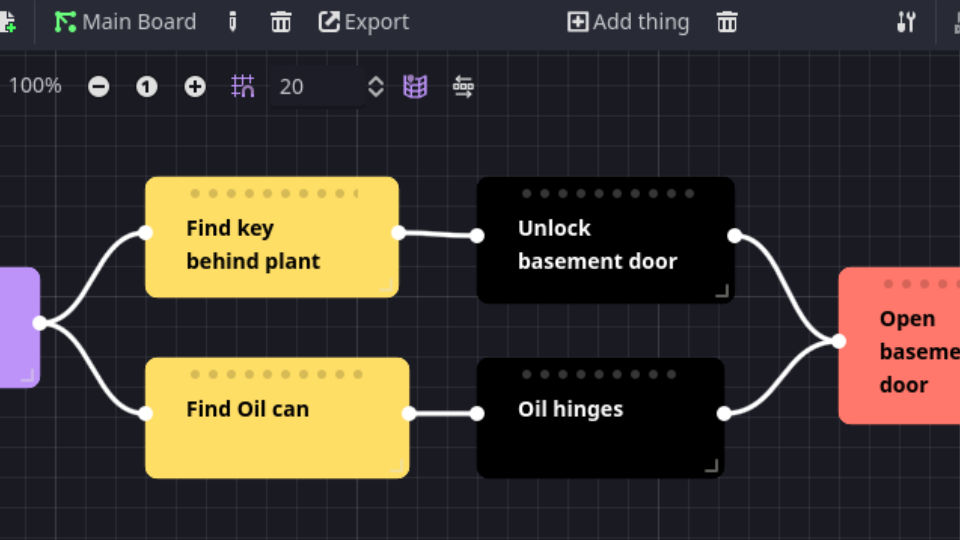
- What makes a good puzzle? February 2023
- What I use to make games January 2023
- Making a dialogue manager for Godot February 2022
- Publishing prototypes August 2021
- Use finite state machines for NPC behaviour May 2021
- Why I'm choosing Godot September 2020
- Just start now March 2018
- What I Iearned from completing a painting every day for a whole year January 2018
- Making a hand-painted puzzle game in 48 hours July 2017